Blend modes, also known as blending modes are use to determine how colors from two or more layers interact and blend together to create a composite image. in this Article, you will learn about Adobe Photoshop “DIVIDE” blend mode and what it is used for, with image to practice with. Download this PSD file to follow along this course.
Download: https://drive.google.com/file/d/1W-uThxJpH_aSSYitP5cW-slbONXrUZqF/view?usp=drive_link
How to Open PSD file
Double click on the downloaded PSD file, if you've installed Photoshop, it will automatically open.
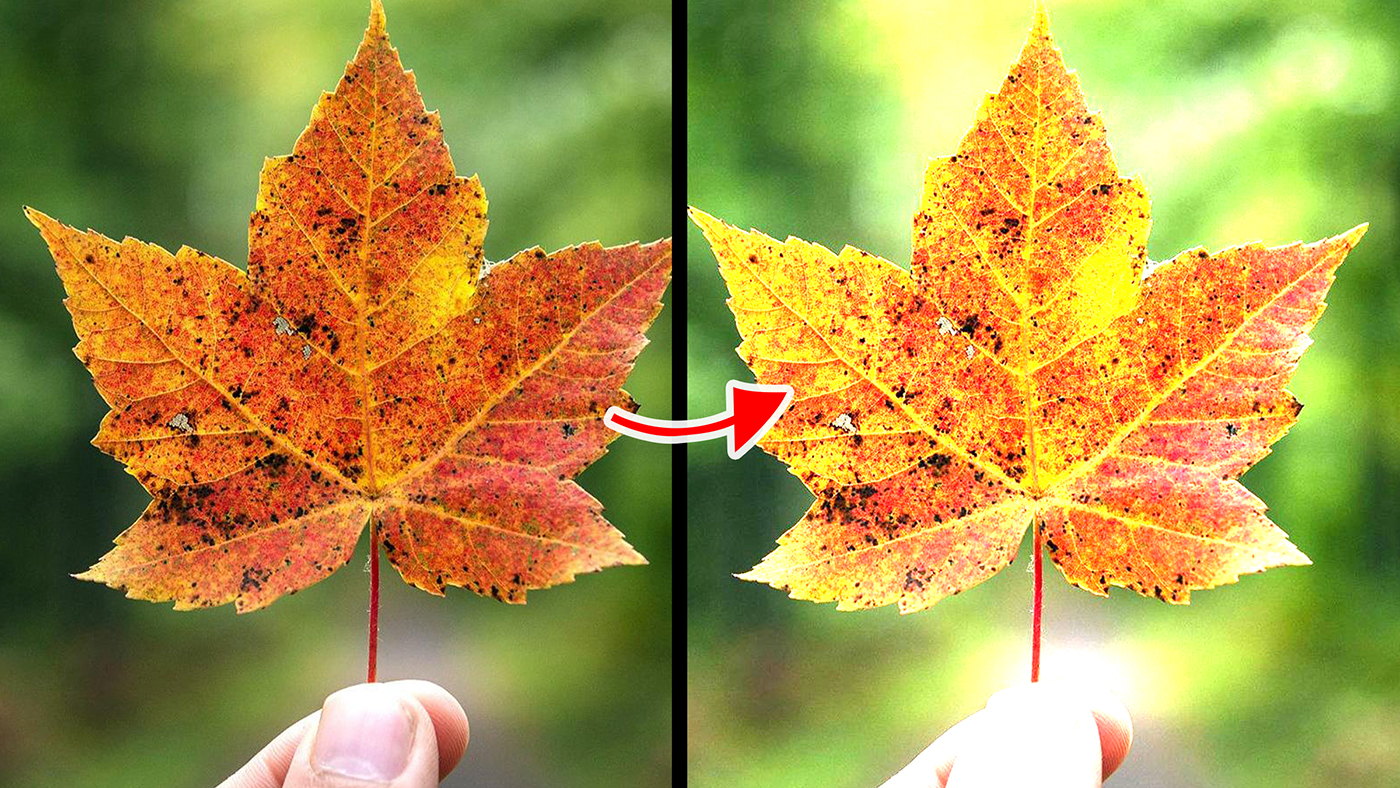
Divide Blend Mode: a useful blend mode that brightens and adds contrast to an image. It works by changing the blend mode of a black color fill adjustment layer to “Divide”
Practice 01:
1. Change the “Color Fill” layer blend mode to "Divide
What will happen is, it brightens the dark underlying image. The good news is the brightness can be increase and decrease, to do this,
How to Increase and Decrease Brightness
1. double click on the “Color Fill” layer thumbnail
2. A color picker will appear, now move the color picker just between “White and Black” color
What will happen is it gradually increases the brightness of the underlying image. 0% percent black (full black color) is the brightest.
It can also increase the saturation of opposite color. The opposite of RGB (red, green, blue) is CMYK (cyan, magenta, yellow and black). This means if the "color fill" is “Red” it will produce “Cyan”. if it's “Green” it will produce “Magenta”
Practice 02:
1. Turn off the “Color Fill” layer by clicking on the eye icon
2. Turn on “Color Fill 2” layer by clicking on the eye icon
3. Change the “Color Fill 2” layer blend mode to “Divide”
What will happen is it produce a green saturation all over the image, this is because the “Color Fill 2” color is “Magenta” and it opposite is “Green”
Click Here to Learn About Other Blend Modes
Photoshop Courses | Top Creativites
Comments (0)